Tuesday, 21 January 2014

saleabration birthday

 
I love how this tag turned out! The layer upon layer gives it a lot of texture. Firstly I took a rectangular piece of crumb cake card and cut the two top corners off to form a tag. I stamped the dictionary stamp lightly with crumb cake ink on the cardstock. Next I used the ex libris stamp and crisp cantaloupe ink. I used the gorgeous grunge set to randomly stamp ink splatters in crumb cake ink. I sponged the edges with crumb cake and sprayed the entire tag with white spray and finally stamped the birthday stamp from the new salebration set. I punched a hole in the top of the card and threaded through a piece of hessian ribbon and tied it off with a piece of crisp cantaloupe twine (also saleabration)
 

Saturday, 11 January 2014

grey skies


How cool are the little clouds and sun in this layout?! They are made using the new word bubbles framelit dies.  The sun is made using the new starburst framelit dies.  They can both be found in the new celebration catty that begins at the end of this month!
 
Products used:
Stamp sets: hardwood, see ya later
Cardstock: whisper white, bermuda Bay, summer starfruit, Smokey slate, silver fancy foil designer
Accessories: summer starfruit striped grosgrain ribbon, mini metallic clothes pins, summer starfruit twine

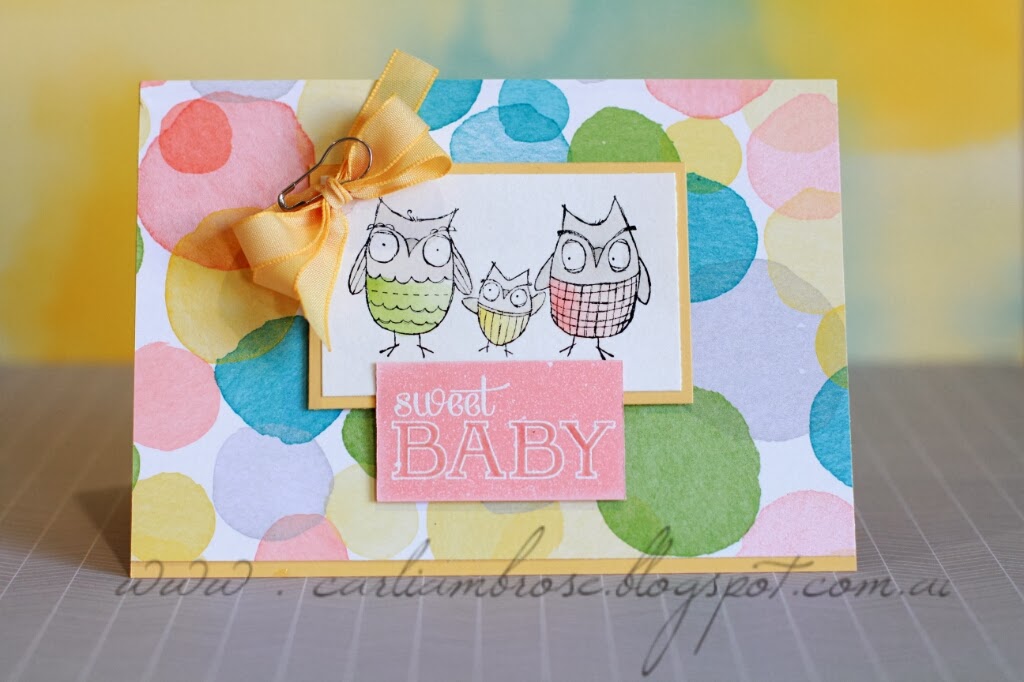
Sweet baby


Today I got to have a play with a new set from the celebration catty.  Firstly I stamped the owl image from the 'Baby,  we've grown' stamp set in staz in black ink. I used my aqua painters to colour it in.  The inks I used were summer starfruit, gumball green, smoky slate and crisp cantaloupe. I layered this image on a piece of so saffron card.
 
I stamped the sweet baby image in versamark ink and embossed it using white embossing powder and sprayed the image with some white spray. I tied a double bow using so saffron ribbon and stuck a safety pin I had lying around through the middle of it.  Lastly the background dsp I used is from the new set 'watercolour wonder'.

Thursday, 9 January 2014

playing with the celebration catty

 
I am so excited about the new celebration catalogue. As demonstrators we have been privileged to play with products a month earlier than they are available to the public. My pre-order arrived yesterday and I excitedly sat down to make my first card today. The base of this card the made with the new 'Hardwood' stamped on whisper white cardstock with crumb cake ink. I sponged the edges and used the good old gorgeous grunge to add some texture. I stamped 3 feathers from 'fine feathers' in versa mark and embossed them with white embossing powder and sponged over the top of them in crisp cantaloupe ink. I then sprayed it with some white spray and sponged the edges white ink and stuck it on a larger piece of crisp cantaloupe cardstock. 
 
I embossed the sentiment from 'a dozen thoughts' in white embossing powder on baked brown sugar cardstock and sponged the edges with white ink. I used the sticky strip to attach a piece of the new gold sequin trim and under that I used a strip of the natural chevron ribbon. At the top of the card I used a new metallic mini clothes pin (gold) and on top of that I placed a double bow using the new gold bakers twine (the gold part I detached and placed under the crisp cantaloupe card).  

Thursday, 2 January 2014

Punch Board gift box with cards


I'm going to make a massive call here but I believe the Envelope Punch Board is one of Stampin Up's most affordable and versitile products. At only $31.95 you can make 66 different size envelopes and an unlimited number of boxes and projects.  I've been seeing 100's of ideas popping up on pinterest over the last few months!
 
The project I am featuring here is also a class I'm running this month.  It features the Sweet Sorbet dsp that is available to demonstrators only this month and to everyone else during  saleabration beginning January 28th. The few products this year are divine!
 
This gift box uses a piece of card 8x8 inches and fits 3 4x4 cards and 3 vellum envelopes.  The box is scored on the 3.5 inch mark and then again on the 4.5 inch mark on all four edges. I have rounded the edges and glued it together and then embellished it as seen.
 
For the vellum envelopes I have used a piece of vellum measuring 6 7/8 x 6 7/8 and scored it at the 3.5 inch mark.
To find out how to purchase the envelope punch board click Here


Friday, 13 December 2013

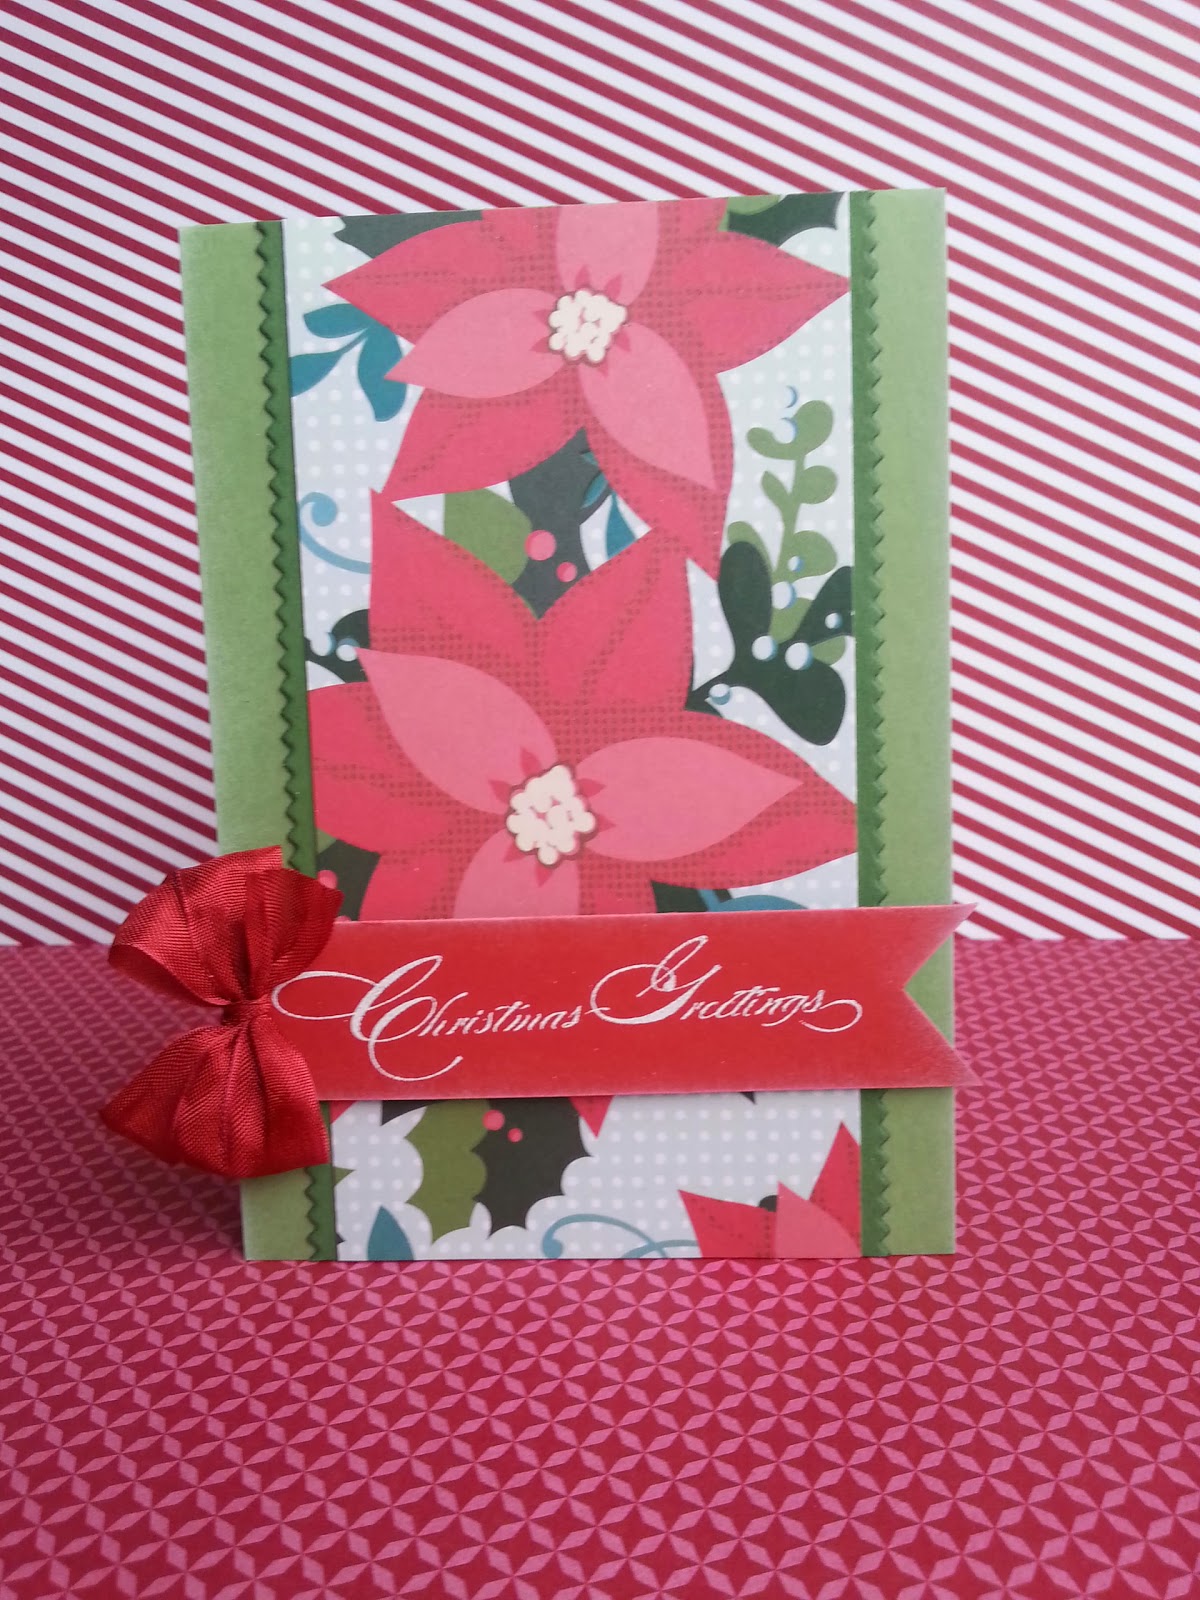
Christmas cards to share

I thought I'd share with you some Christmas cards I've been making lately.
The stamp sets I have used for these cards include:
 
* Open Sleigh
* Christmas Messages
* O Holy Night
* Merry & Type
* Special Season
 
I Hope you're enjoying your Christmas crafting as much as me! I Love this time of year!
 

Thursday, 12 December 2013

advent calendar

I thought I'd share with you a project I made last advent.  I was inspired by some projects that were showing up on pinterest and wanted to create something with products I had on hand. 
 
Using the Stampin' Up! Pillow box die I cut some boxes using some scrap pieces card. Next I used the alphabet die to cut numbers out.  I then die cut some Christmas ornaments using the Stampin' Up holiday ornaments bigshot die.
 
Using the cropadile I punched a small hole in the top of each one and secured a gold eyelet in place.  I then threaded a small piece of gold string through the hole and tied a knot to form a loop.  I collected embellishments together I had on hand that matched my silver and gold theme.
 
I used a pin up board I had at home to display them on and simply attached them with a pin through the loop of string. This means I can easily take them off the board at the end of Christmas and store them in a box to prevent them getting damaged in storage.
 
Each year I fill them with chocolates and when the kids get older I'd like to add some Bible verses and write down on pieces of paper to slip inside each box some fun Christmas activities we can do as a family.
 

This site was made with ♥ by Angie Makes